Video: Invoice in advance
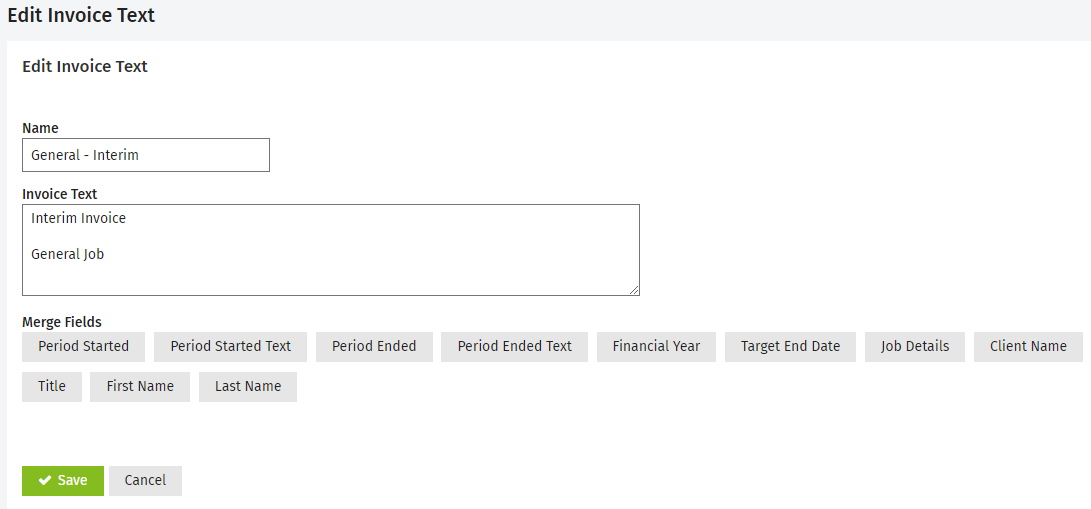
If you want to send interim or progress invoices to clients, you must first add an interim text item to your invoice text library. When you enable the related setting in the job types area you will be able to apply this text when creating invoices.
Here is an example of text you could use:
Settings - Practice Management
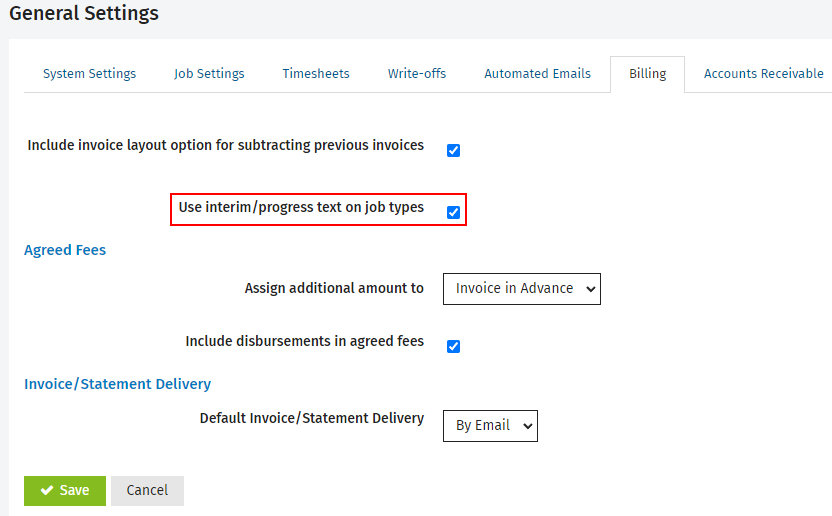
- Click Settings > Practice Management.
- Click General Settings.
- Click the Billing tab.
- Select the Use interim/progress text on job types check box (by default this is NOT selected).
- Click Save.
Settings - Practice Management
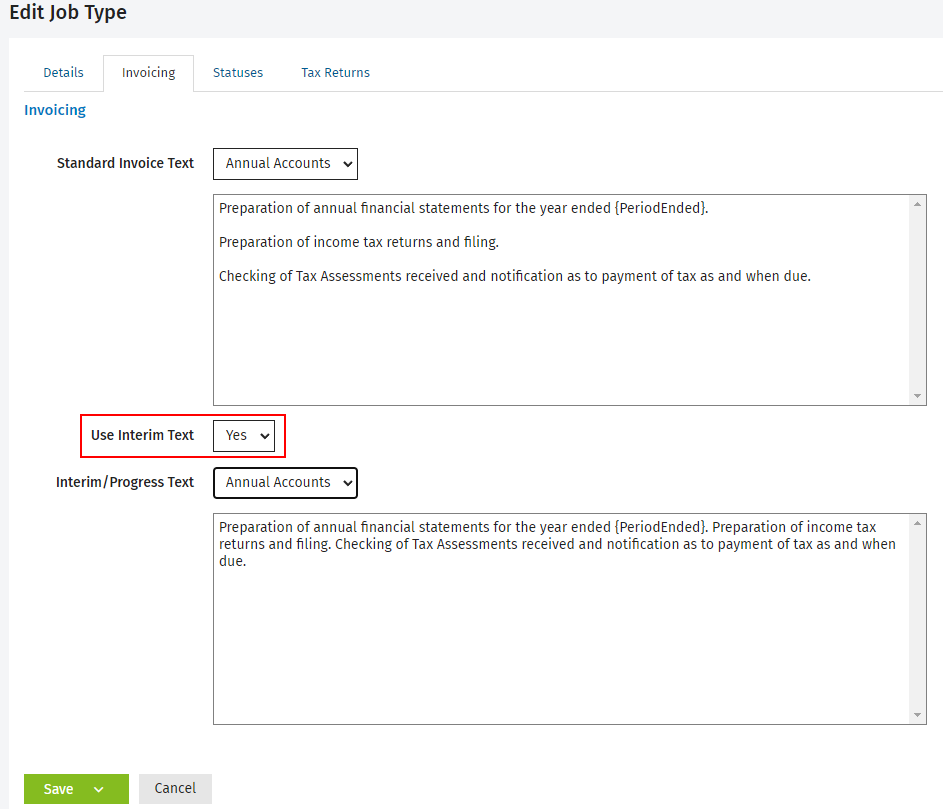
When the above setting is enabled, a new option appears in the Invoicing tab of the job type settings which allows you to set up the interim invoice text to use for that job type.
- Click Settings > Practice Management.
- Click Job Types.
- Click the row of the job type you want to edit.
- Click the Invoicing tab.
- Select Yes from the Use Interim Text list - additional options appear.
- Select the required invoice text item from the list in the Interim/Progress Text list.
- Click Save.
Invoicing - View, Add and Edit Invoices
There are four instances when you can apply interim invoice text, as outlined below. See below also for some additional information when working with interim invoice text.
- When you create invoices from the Work in Progress center, select the Create Inv - Interim Text option from the Actions menu.
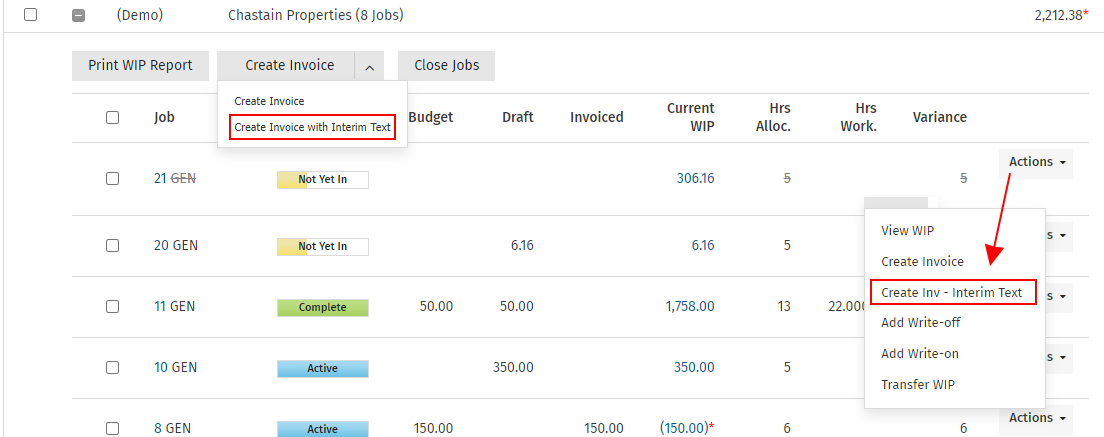
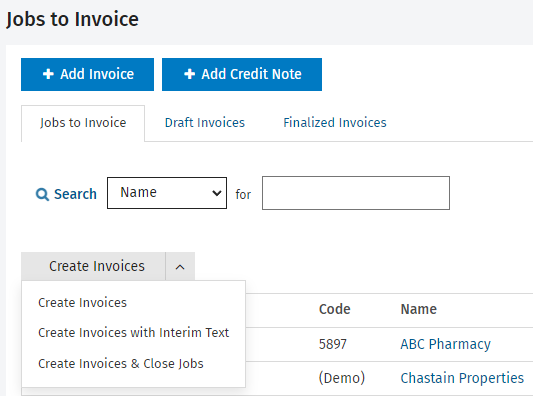
- When you create invoices from the Jobs to Invoice tab, select the Create Invoices with Interim Text option from the Create Invoices menu.
- When you create an invoice from within a job, select the Create Invoice with Interim Text option from the Create Invoice menu.
- When you select a job to add to a draft invoice, click Add With Interim Text.
.png)
- Where it is possible to select multiple jobs and you select the option to create invoices with interim text, if one or more of those job types do not have interim text, the jobs will still be added to the invoice but with standard text instead.
- It is possible to quickly change the text type, if you applied the wrong one when creating the invoice. Click the job details row (shown with red arrow below) to view the Description field and activate the edit button. Click this button to toggle between interim and standard invoice text.
